Download VNC Viewer For Raspberry Pi: Your Guide To Remote Access
Are you ready to unlock the full potential of your Internet of Things (IoT) projects, controlling your devices remotely with ease and security? The answer lies in harnessing the power of VNC Viewer, a versatile tool that transforms your Raspberry Pi and other IoT devices into accessible, manageable systems from anywhere in the world.
In the ever-evolving landscape of technology, remote access has become not just a convenience but a necessity. Whether you're a hobbyist tinkering with home automation, a professional managing complex industrial systems, or a student exploring the fascinating world of embedded computing, the ability to control your devices from afar is invaluable. This is where VNC Viewer steps in, providing a seamless bridge between your physical devices and your digital command center.
But what exactly is VNC Viewer, and why is it so crucial for IoT operations, particularly those centered around the Raspberry Pi? How does it work, and what steps do you need to take to set up and use it effectively? This exploration will delve deep into the world of VNC Viewer, providing you with the knowledge and practical guidance you need to succeed in your remote access endeavors. We'll dissect the intricacies of installation, configuration, and troubleshooting, offering a comprehensive guide to help you unlock the full potential of your IoT devices.
- Aditi Mistry Latest Updates Exclusive Content Details
- Aditi Mistry Bigg Boss Web Series Star Whats Next
Before proceeding further, let us consider some vital information about the tools and processes that enable remote access to devices like the Raspberry Pi. The core concept here revolves around the Virtual Network Computing (VNC) protocol. VNC is a graphical desktop-sharing system that allows you to view and control a remote computer. It works by transmitting keyboard and mouse events from one computer to another, relaying the graphical output of the remote computer back to the user's screen. This creates a real-time, interactive experience, as if you were sitting directly in front of the remote device.
VNC Viewer, in its essence, is the client-side application that enables you to connect to a VNC server running on the remote device the Raspberry Pi, in our case. RealVNC, tightVNC and other similar tools offer both viewer and server software, providing a complete solution for remote access. The process typically involves installing a VNC server on the Raspberry Pi and a VNC viewer on the computer or device you want to use to control the Pi. Once connected, you can see the Pi's desktop and interact with it using your keyboard and mouse.
This ability is especially critical for the Raspberry Pi, a small, affordable computer that has become a cornerstone of the IoT revolution. The Raspberry Pi is often used in projects where direct physical access is impractical or impossible. Consider applications such as remotely monitoring environmental sensors, controlling smart home devices, or managing industrial machinery. In all these scenarios, VNC Viewer provides the essential lifeline, allowing you to monitor, control, and troubleshoot your devices from anywhere with an internet connection.
Let us also clarify the role of SocketXP IoT agent, which provides a secure and reliable method for remote access, particularly useful in scenarios where direct IP connectivity is not readily available. The agent helps establish a secure tunnel, allowing VNC Viewer to connect to your Raspberry Pi even if it's behind a firewall or on a private network. The setup involves installing and configuring the SocketXP agent on both your IoT device (such as the Raspberry Pi) and your access device (laptop or PC). The agent then handles the complexities of establishing and maintaining a secure connection, allowing VNC Viewer to work seamlessly.
For those who have limited technical experience, the process can seem intimidating. However, the steps are relatively straightforward, and the benefits far outweigh the initial setup effort. We will now navigate you through the intricacies, from downloading and installing VNC Viewer to configuring your Raspberry Pi, transferring files, and optimizing your remote access experience. To get started, download the VNC Viewer for Raspberry Pi to the device you want to control from.
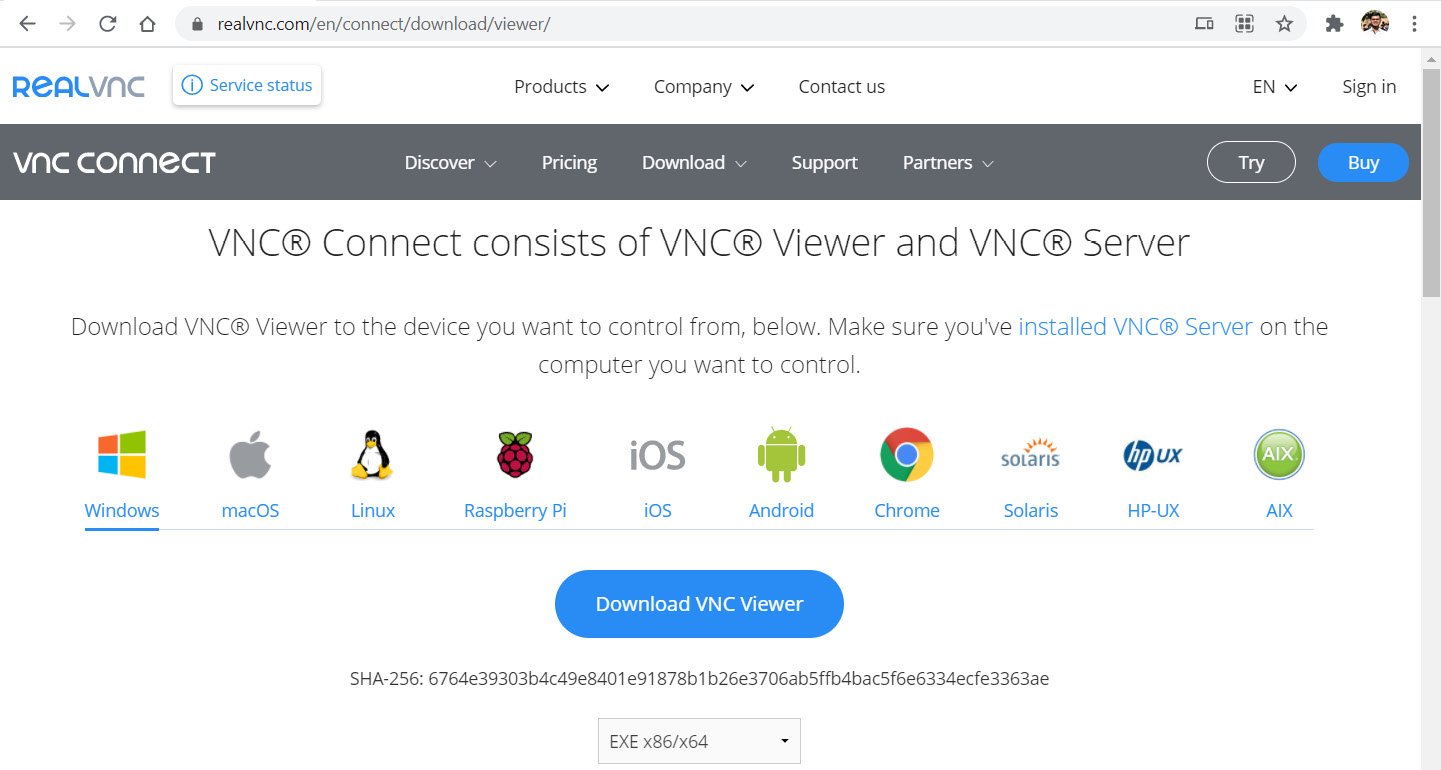
Before we start the process, remember that VNC Viewer by RealVNC is always free to use. You only need to accept the EULA the first time you run it. Download realvnc viewer on all computers and devices you use to control your raspberry pi remotely.
For the best experience, install RealVNC Viewer and RealVNC Server together using the RealVNC Connect setup app.
Once the VNC Viewer is installed, the next step is to install the server software on your Raspberry Pi. This typically involves using the package manager to install a VNC server like RealVNC Server.
Heres how to establish a direct connection with a Raspberry Pi device:
Step 1: Download and Install VNC Viewer
The first and foremost step is to download VNC Viewer on the device you intend to use for remote access, be it a laptop, PC, or mobile device. You can find the appropriate version for your operating system (Windows, macOS, Linux, Android, iOS) on the RealVNC website. Ensure that you download the software from a trusted source to avoid any security risks.
Step 2: Install VNC Server on Your Raspberry Pi
After you've downloaded and installed the VNC Viewer on your device, it's time to prepare your Raspberry Pi. This involves installing a VNC server, which is the software that will allow your Pi's desktop to be displayed remotely. RealVNC Server is a popular choice, as it is optimized for Raspberry Pi. To install it, you can typically use the package manager of your Raspberry Pi's operating system.
Step 3: Configure the VNC Server
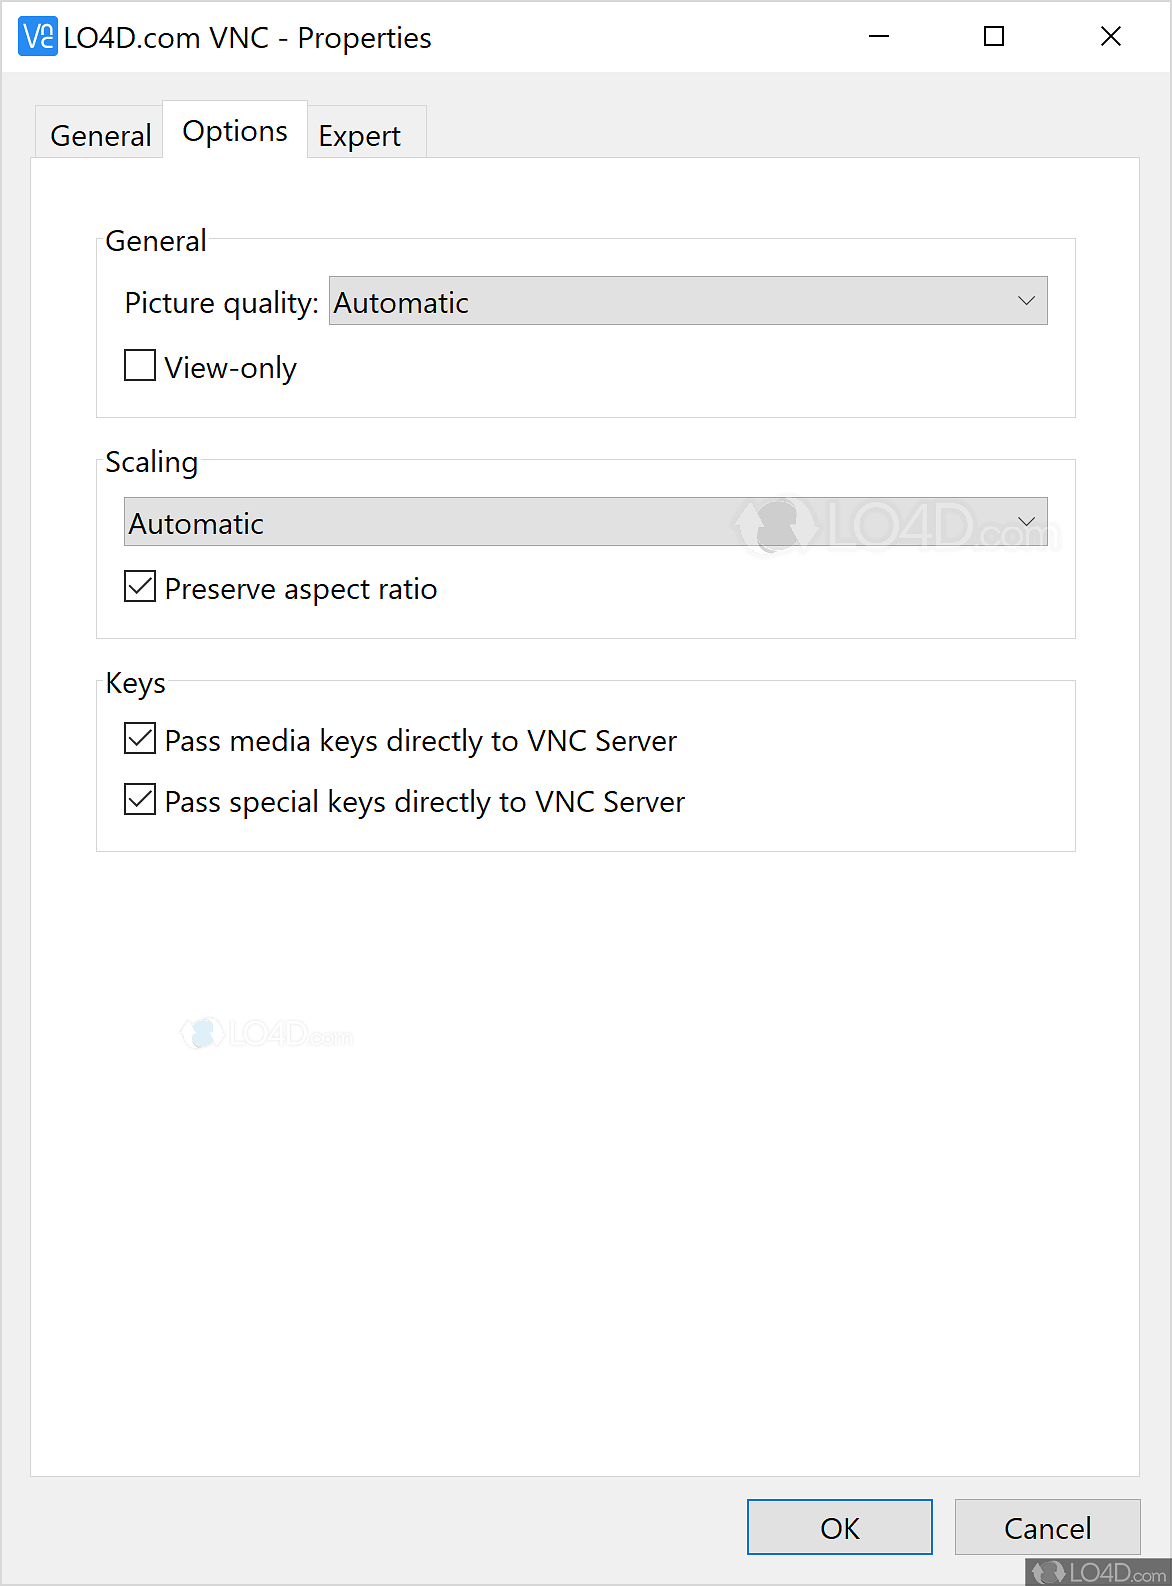
Once the server is installed, you need to configure it to work correctly. This often involves setting a password for remote access, which is a critical security measure to prevent unauthorized access to your Pi. You can also configure other settings, such as the screen resolution, to optimize your remote viewing experience.
Step 4: Connect to Your Raspberry Pi
With both the server and viewer set up, its time to establish the connection. Launch the VNC Viewer on your device and enter the IP address of your Raspberry Pi. You'll then be prompted to enter the password you set during the server configuration. Once authenticated, you'll see your Raspberry Pi's desktop on your device, ready to be controlled.
Step 5: Advanced Configuration and Optimization
For experienced users, there are numerous advanced settings that can enhance your remote access experience. For example, you can configure the VNC server to start automatically on boot, which is convenient for headless operation (i.e., running the Pi without a monitor, keyboard, or mouse). You can also adjust the quality settings of the VNC connection to balance performance and bandwidth usage.
Step 6: Using SocketXP IoT Agent (Optional but Recommended)
For scenarios where your Raspberry Pi is behind a firewall or on a private network, consider using the SocketXP IoT agent. This agent provides a secure tunnel for remote access, allowing you to connect to your Pi even if it doesn't have a public IP address. You need to download and install the agent on both your Pi and your access device, following the instructions provided by SocketXP.
To send the file to your raspberry pi, access raspberry pi using vnc viewer. From the vnc viewer preview window, click the menu at the top of the screen and choose transfer files. Use the file picker to choose a file on your pc and click open. Paste in your IP into the popup box and give your pi a name you would recognize. You now have a new connection on your VNC user panel.
If you prefer a graphical interface, VNC Viewer is the way to go. It allows you to see your Pis desktop as if you were sitting right in front of it. Install the RealVNC Server on your Raspberry Pi. Launch VNC Viewer on your Windows machine and enter your Pis IP address to connect.
Moreover, you can install RealVNC Viewer on your Raspberry Pi to access a remote desktop computer or another Raspberry Pi by entering the following command:
Consider these benefits of using VNC Viewer for Raspberry Pi:
- Remote Control: You can remotely control your Raspberry Pi from anywhere in the world with an internet connection.
- Graphical Interface: VNC Viewer provides a graphical interface, allowing you to see your Pi's desktop as if you were sitting right in front of it.
- File Transfer: You can easily transfer files between your computer and your Raspberry Pi.
- Easy Setup: Setting up VNC Viewer is relatively easy, with clear instructions available online.
- Free to Use: VNC Viewer is free to use, making it an accessible option for anyone looking to manage their IoT projects.
By leveraging the power of VNC Viewer, you can transform your Raspberry Pi into a truly accessible and manageable platform, regardless of your location. Embrace the future of remote access and unlock the full potential of your IoT endeavors.
For windows users, there are plenty of free tools available to facilitate remote access.

Detail Author:
- Name : Ulises Dooley I
- Username : shanelle58
- Email : woodrow22@yahoo.com
- Birthdate : 2003-03-19
- Address : 4225 Hester Fork East Barbaraland, KS 43161-5521
- Phone : 364-609-9643
- Company : Wilderman and Sons
- Job : Materials Scientist
- Bio : Doloremque facilis et suscipit sunt amet. Vitae quo quaerat nesciunt dolores molestiae autem. Qui magni qui voluptates quaerat placeat reprehenderit dolorum.
Socials
instagram:
- url : https://instagram.com/kunze2017
- username : kunze2017
- bio : Perspiciatis animi qui et molestiae. Quia autem dolorem vel aut.
- followers : 803
- following : 2507
facebook:
- url : https://facebook.com/kaya9353
- username : kaya9353
- bio : Ab cum aliquam nam suscipit.
- followers : 3957
- following : 325

 projects, controlling your devices remotely with ease and security? The answer lies )